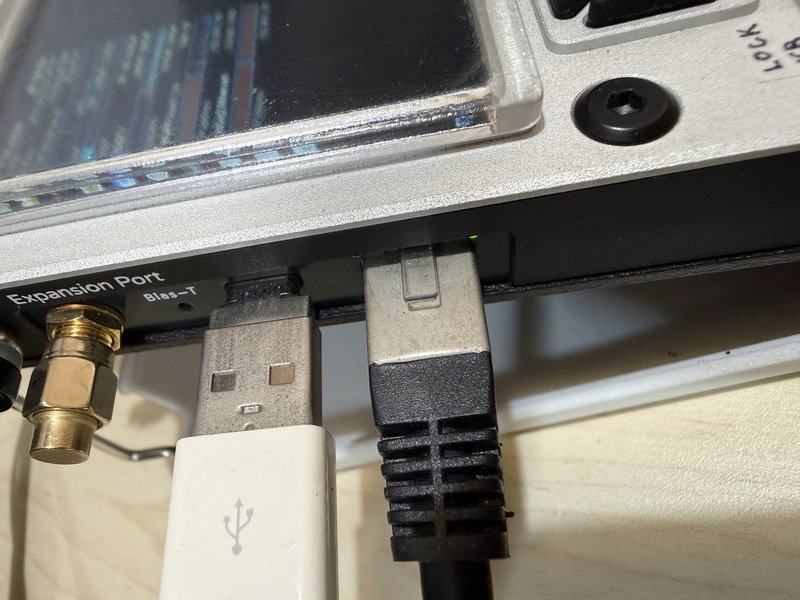
What is SASD?
SASD = Serial Attached SD
This is meant to extend the capability of the legacy PalmIII series device such that it can work with SD Card storage. this would facilitate getting apps on and off a PalmIII device without having to connect it to a computer all the time.
I was really interested in doing this as this was a device that really accompanied me in the early days of my career. Trying to do this is my way of trying to get this awesome platform re-integrated with my daily routine
Key Hardware and Software
First off, this is the key site that Dmitry has shared his code, design and details. The work he has done is awesome and so inspiring. I have taken his design of SASD and finally moved forward to make it myself. It was a great learning experience and has furthered my desire of making the awesome Palm3 legacy device modern again.
https://dmitry.gr/?r=05.Projects&proj=32.%20SASD#_TOC_6c9d4b2848e754fb84ba61d0b0db4d3f
JCLPCB Production files and details
Some of these are part of the files that Dmitry provided on his download package. But i grabbed them but some files required modiciations. The below are the final files that i used to assemble a working batch of SASD. The only things that i didn’t manage to get assembled are the 1.8mm Sping and the AAA battery holder wasn’t included as part of the board assembly. I had to hand solder these myself.
As Dmitry offered his files and design for free, i’m paying it forward to anyone who wants to make their own without the pain of further possibly failed experimentation and cost.
Final BOM, CPL and Parts List
Take note that this BOM list is what i finally used to have JCL assemble. I have replaced the parts such that i can find the possibly lowest cost possibilities. The column “JCLPCB Part #” is the map from the SASD BOM to what is currently available.
Final PCB Gerber File
This is my version of the SASD. I say my version as i did make some modifications to the design, but overall, the PCB is true to the schematic that was shared by Dmitry.
Outcomes, Pictures and working Result
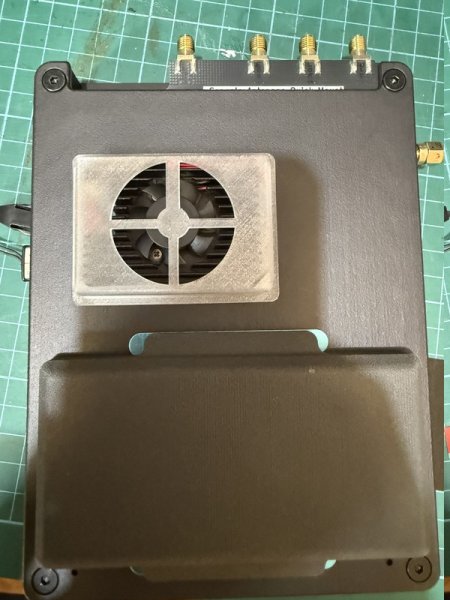
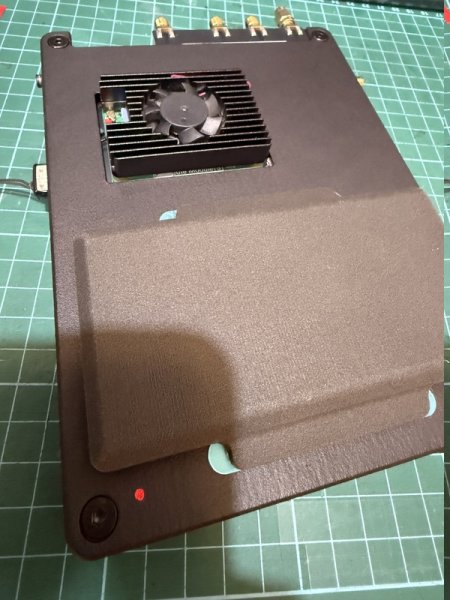
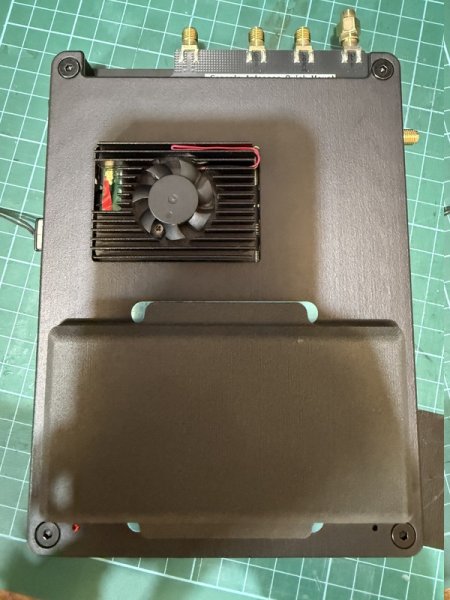
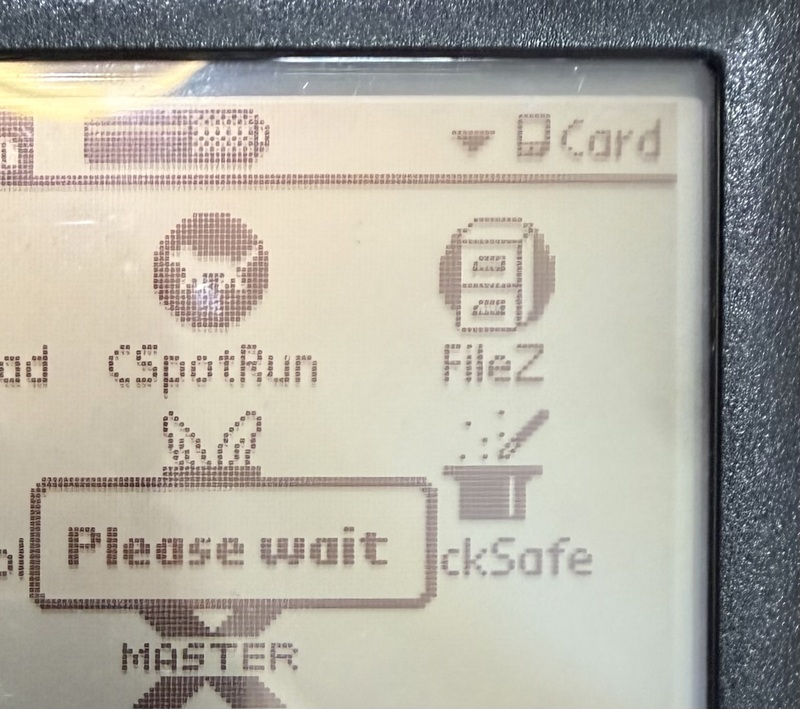
Here are some pictures of the outcome of what JCLPCB produced, and the flashing of the SASD firmware into the MCU, and finally, the SDCard being recongized by the Palm.
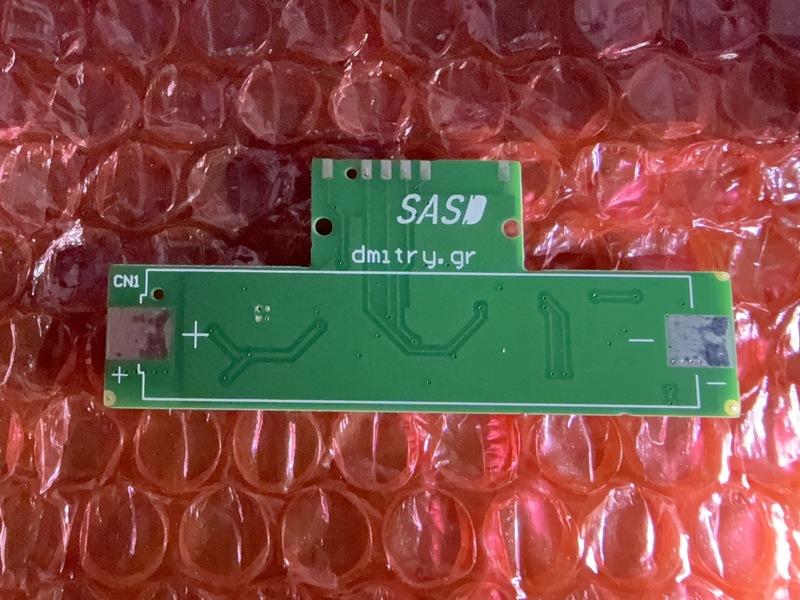
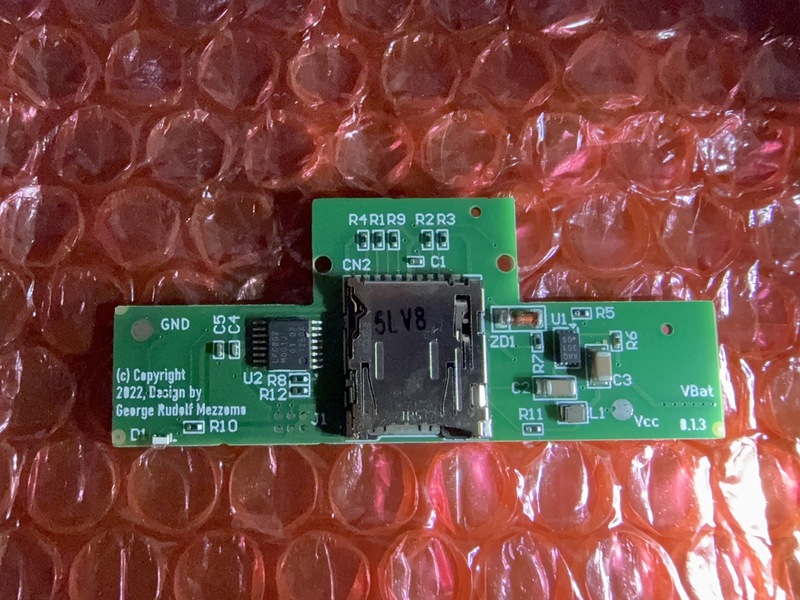
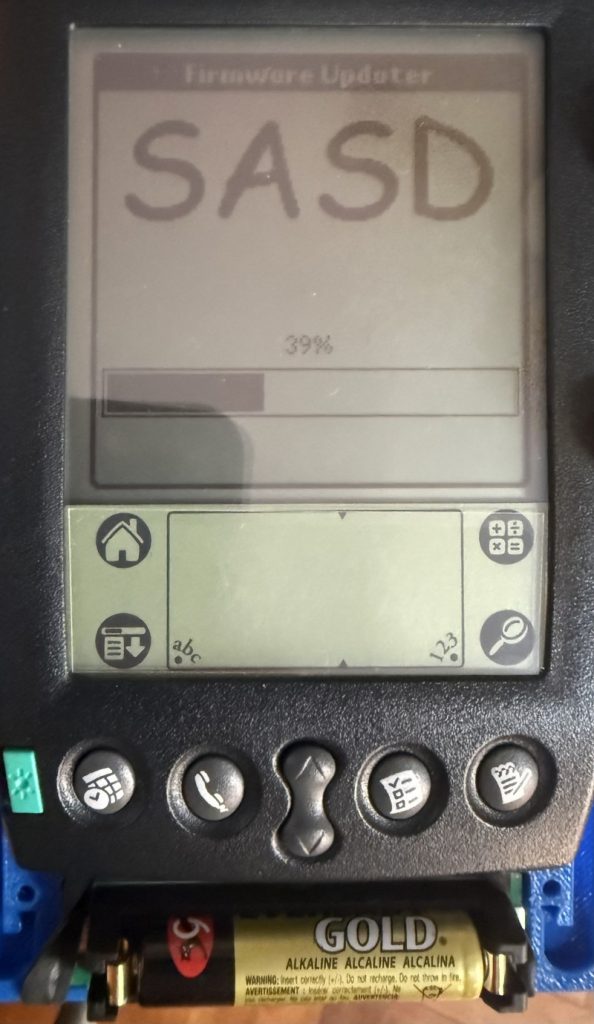
Notes
The main article on Dmitry’s website was quite wordy…. and i missed so much details in one or two sentences. Regardless, i finally got it working. But not without some key troubleshooting notes with regards to the hardware and putting everything together.
- The pin connection to the dock pins being reliable is quite critical. if you hook up, and hotsync immediately starts, your tx pin is probably shorted to the HS_IRQ.
- If you get “serr err comms” during SASD flash, your RX/TX lines are probably misaligned.
- If the SASD flash worked, then make sure that ExpansionMgr or the API that offers the same thing exists. I realized i missed that after i looked at the source code and noticed that i missed it. If you followed the instructions, you would have prepared a 1GB SDCard with the folder “PALM/PROGRAMS” with all the required software on it.
- If everything works, you should be able to hit “HotSync” on a bare PalmIII based device with OS4.1 and have all required software installed. I have found OS4.1 to be the most stable. i couldn’t get things working on OS3.3. If you need the OS4.1 ROMs, you can get it from here.
- 1GB and 2GB SDCards worked fine. I couldn’t get 4GB and above cards to work properly. but 1-2GB was plenty for a Palm.
- When everything works smoothly, when you plug in your SASD, toggle the power button. Give it a while and there will be a beep. and he launcher screen will refresh. You should then see the card appear in the launcher. Same if you disconnect the SASD. Toggle the power. and a beep will be heard. There should be seldom a need to soft reset, but there are times when it seems to help, especially if you are heavily testing.
If you found this useful and it saved you time
… You can buy me a coffee.. i would really appreciate it.

If you hope to have me make the order at JCLPCB for you, reach out to me at sulph68 [ at ] gmail.com.
Whats next…
The SASD is just the core of getting an SD Card to work on a PalmIII. the casing and the align is yet another. i’d update and do that as a separate post once i have it nailed down. The sort of it is that i am using my own case design, and easily available spring connectors to get a reliable connection to the Palm.
There are also many other software aspects that i am currently working on to bring my idea of getting the PalmPilot back into my life.
Till then.